Building an Orlandoo Hunter OH32A03 - Axle and Suspension Link Assembly

Part One: Bags A & B
This build series is sponsored by RCMart.com.
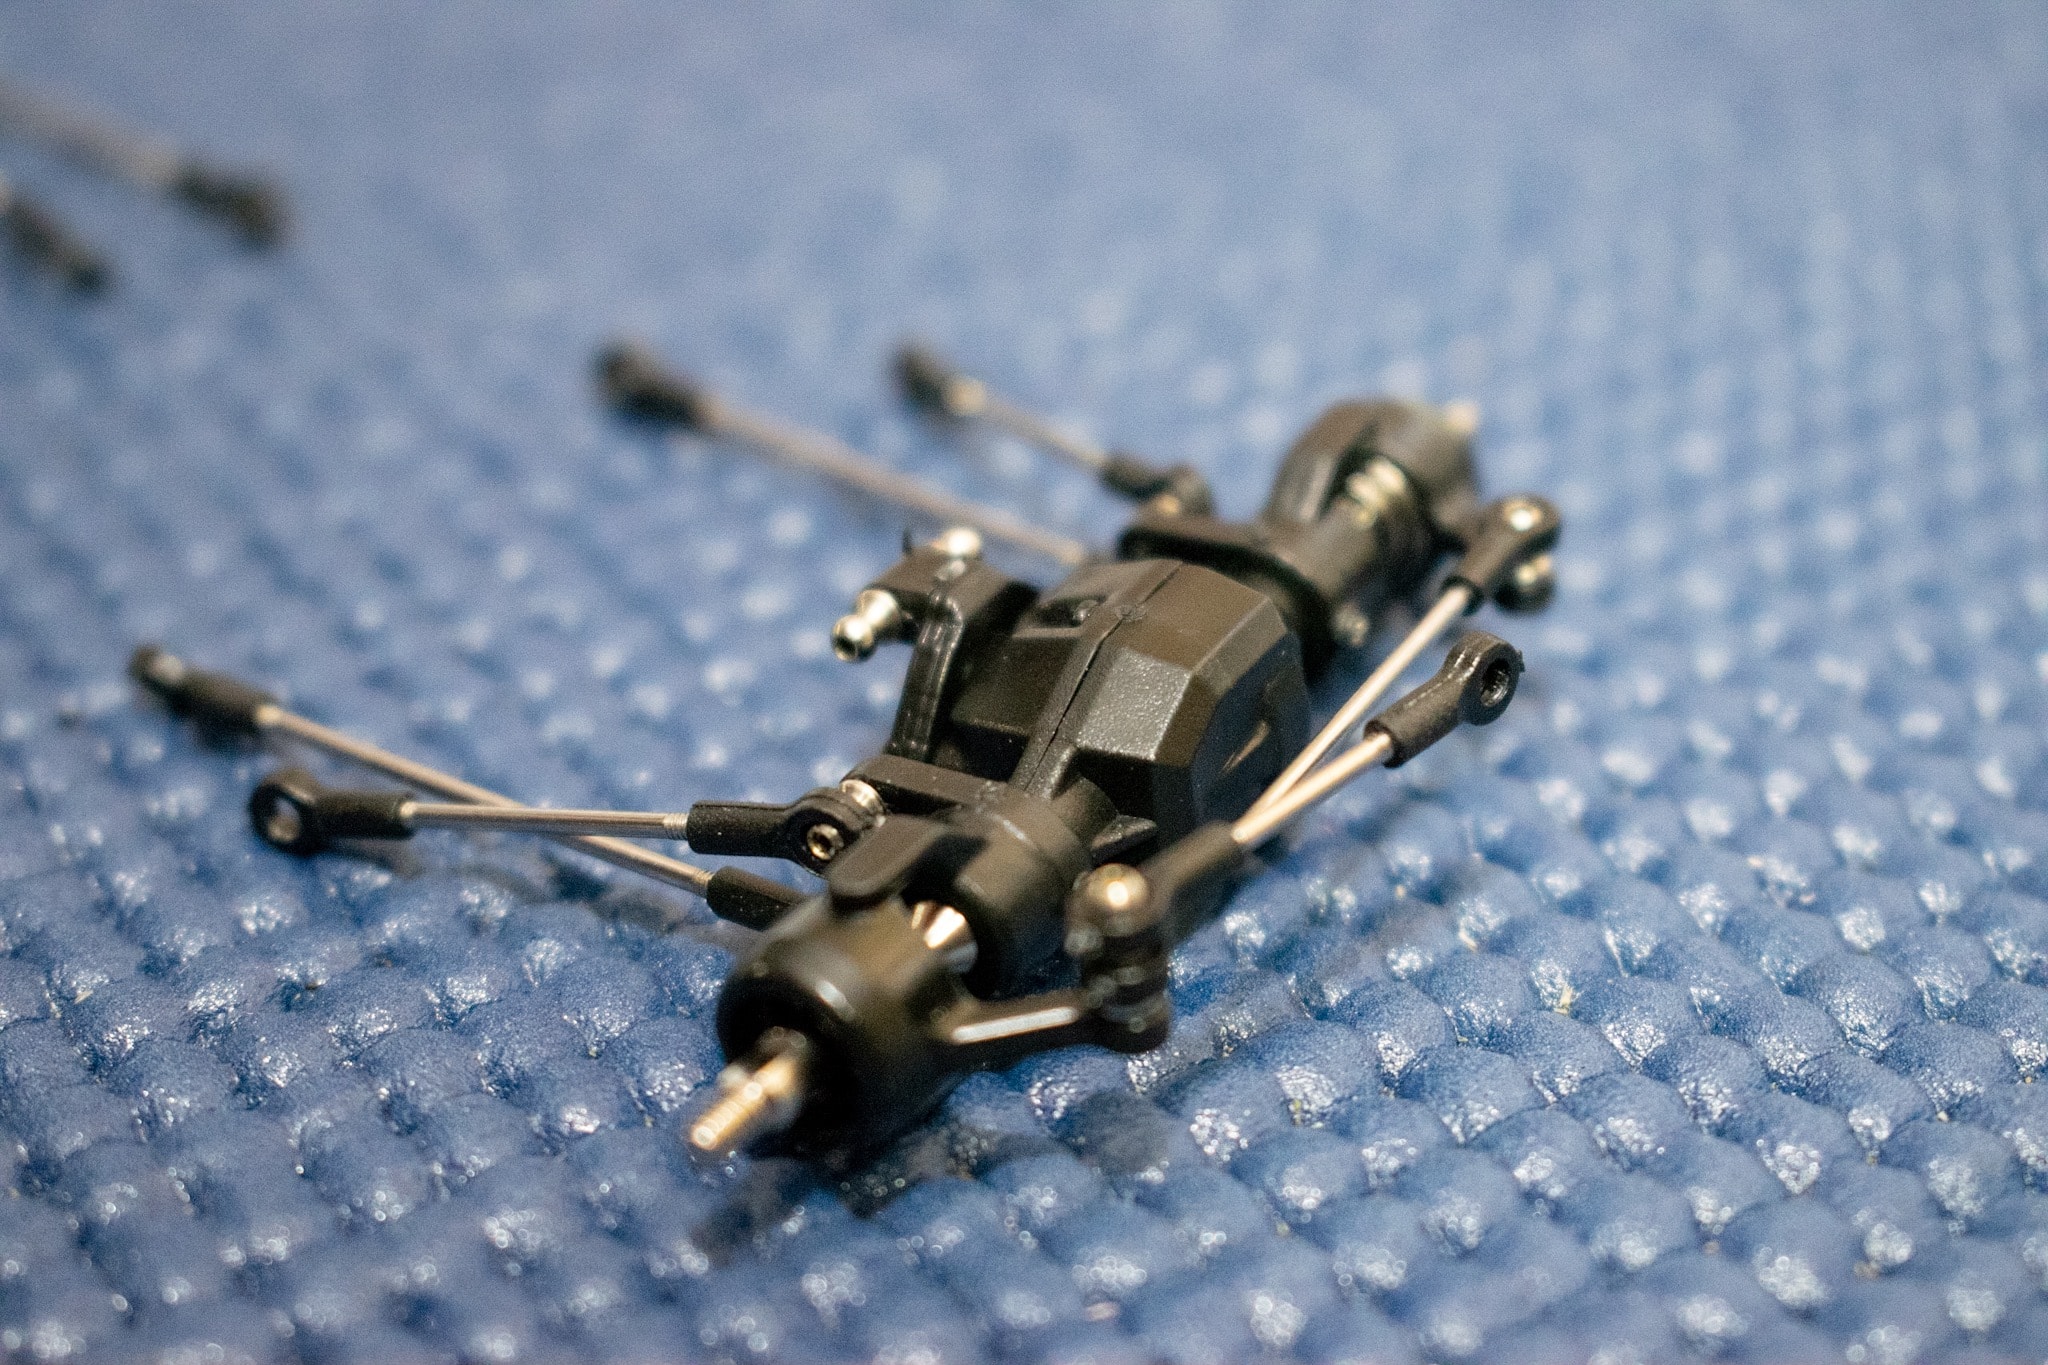
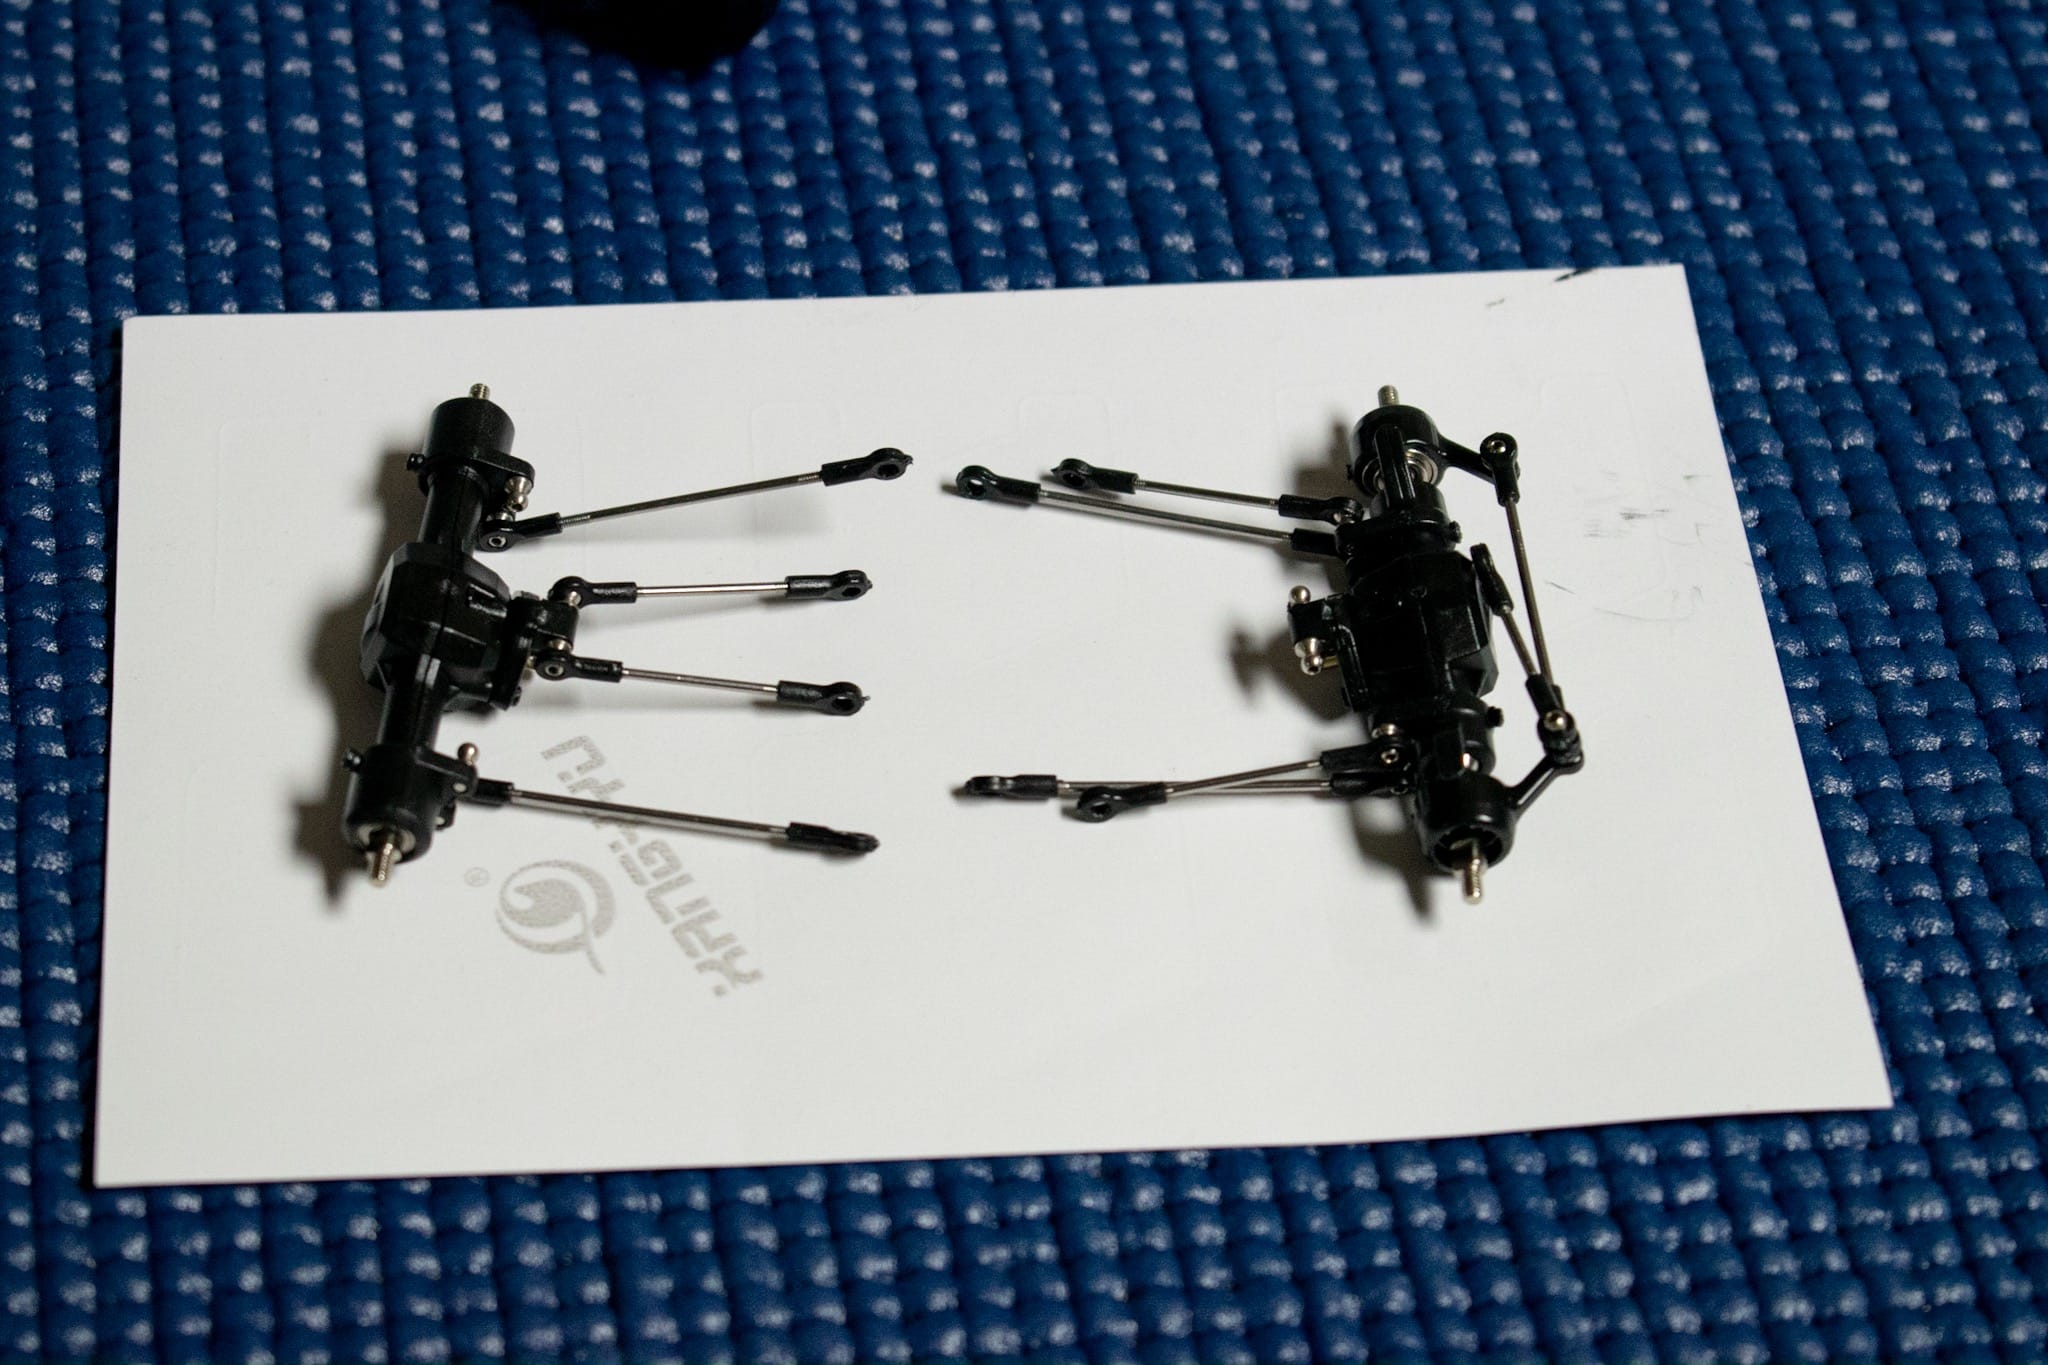
My first experience with a 1/32-scale kit arrived in the form of the Orlandoo Hunter OH32A03 kit, specifically bag “A”. This bag contained all of the parts and pieces for assembling the axles and axle housings. I’ve done this type of assembly before, so I was confident that it wouldn’t take too long to complete. That’s where I underestimated the size of my opponents, tiny as they were.
If I can offer up any advice for building this kit, it’s patience. It’s easy to get frustrated with the size of the hardware and the tools. Once you start putting the pieces together and see the OH32A03 start to take shape, it’s easy to feel the urge to rush. Don’t. Most of my frustrations with this build came from the first two bags and assembly and trying to rip through them as quickly as possible.

Now back to the build. The details for assembly were very clear and easy to understand, however, I did encounter a user-error when it came to the axle shafts. I incorrectly installed the rear shafts into the front axle housing, a mistake I caught when inserting the front spindles. With that corrected, I was back to getting the housing secured and installing the ball-ends.
These twist-in ball-ends were the bane of my existence throughout most of the building process. To their credit, they do have holes to insert the included hex wrench, but getting the screw to seat and grip into the plastic of the model ended up being tougher than expected. Using an R/C body reamer to widen the hole helps get things rolling a bit quicker. Be careful not to over-widen the hole (3-4 short twists seem to do the trick), but give just enough to help the screw fasten.

Once the front and rear axle housings have been assembled, the next step is bag “B”. This bag contains the pieces for the steering and suspension links. The assembly of these items was to the point, but you’ll need to pay attention to the length of the links as they’re used throughout the chassis and suspension setup of the OH32A03.
With bags “A” and “B” completed, it’s time to mount the micro brushed motor and build the chassis.
Follow along with our Orlandoo Hunter OH32A03 build:
